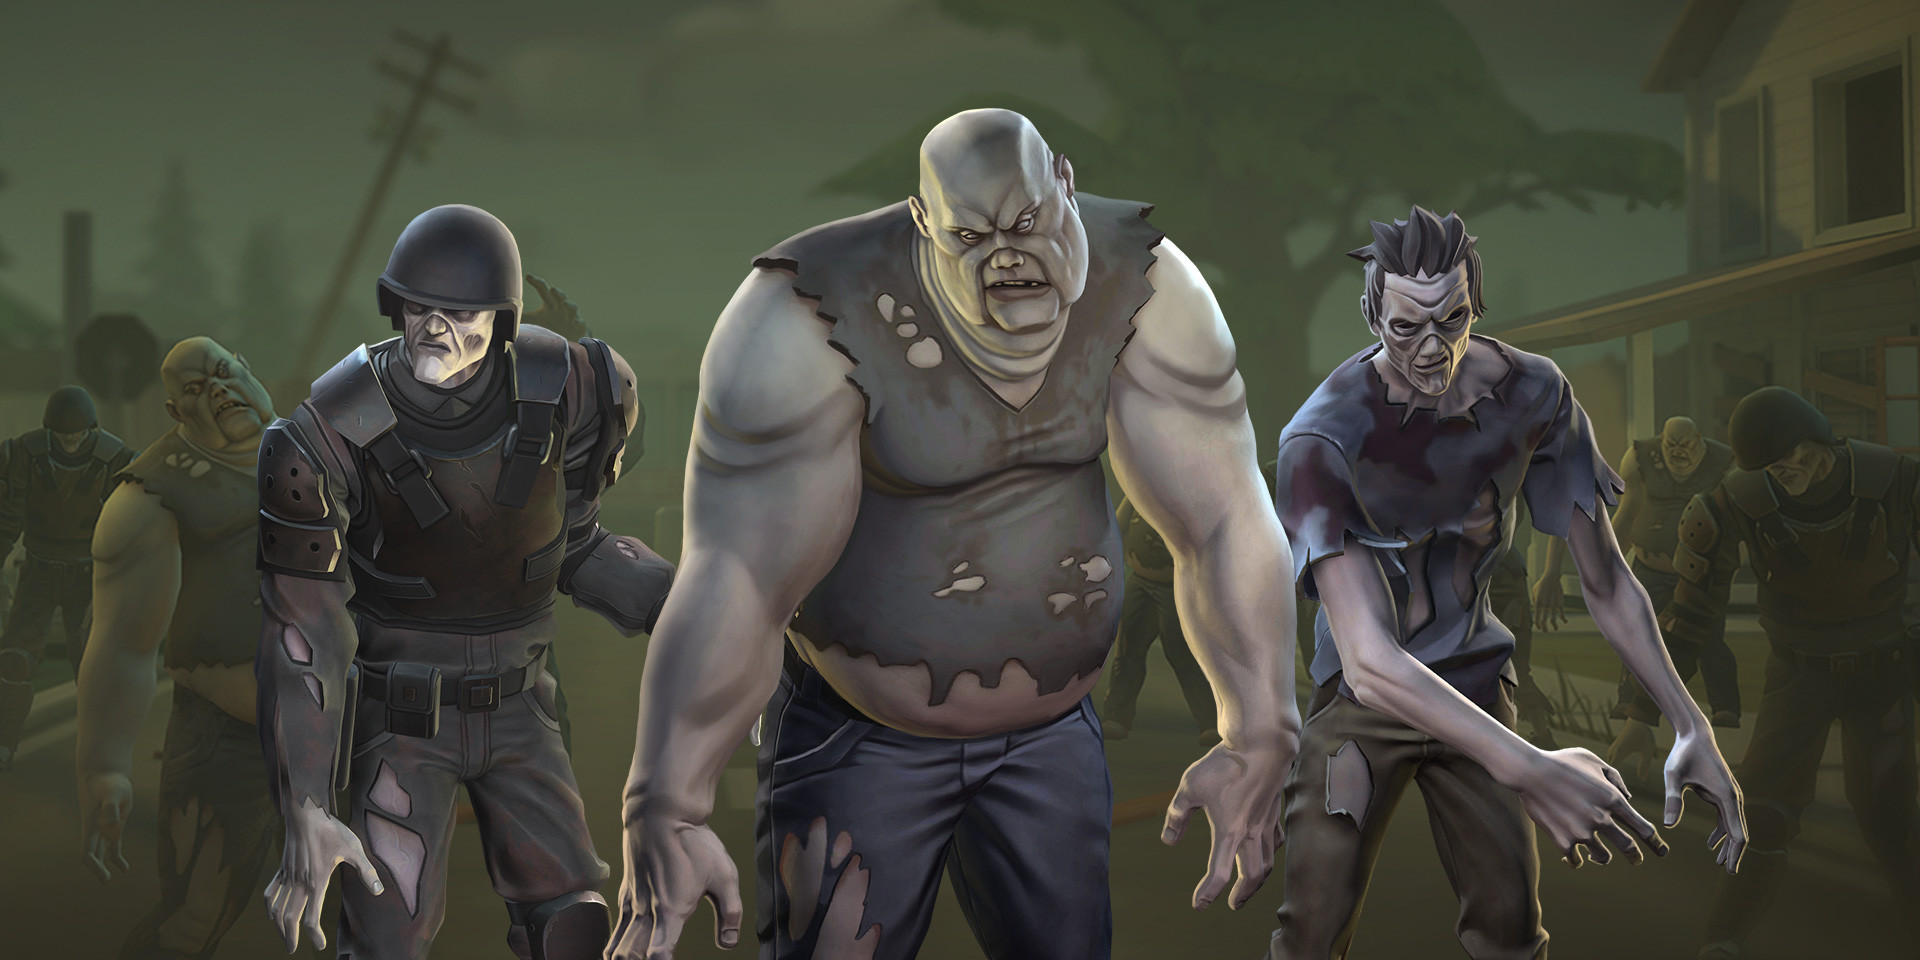
The Walking Dead season continues, and the main activity of Stage III is the Gauntlet CO-OP PvE event, where you face off against herds of different enemies and try to survive as long as possible. Check out the details and specifics of each AI-controlled enemy you’ll encounter!
Walkers

We start with walkers – the most numerous group of opponents you’ll find. They are basically reanimated human beings. They do not feel pain, they don’t need food, water or sleep. All they want is flesh, and they’re ready to go anywhere for a piece of that. Eliminating them is harder than the living, and their strength lies in numbers – usually, walkers travel in herds. On the bright side – they aren’t too smart or too fast.
- They all possess the Infection perk, which deals damage over time to the player and slows them down if they were attacked.
- The only way to stop Infection is to use healing consumables or pick up supply crates with health
- They receive increased damage to the head and reduced damage to body parts
- They are generally slower than the player
Keep in mind that there are many different types of walkers, and some are much nastier than others.
Roamer

This is your basic walker, who simply moves around looking for food. Apart from being contagious (using the Infection perk), they aren’t too difficult to battle. Keeping your distance from these guys is basically enough to stay safe. Just make sure none are coming at you from behind!
Riot

A walker with extra armor that allows it to withstand shots to the head as long as there’s armor remaining. Not a lot more dangerous than the previous type, but he takes a little longer to eliminate. Use caution and aim for the head to maximize your efficiency.
Heavy

This is a pretty rare one and doesn’t spawn too often. Heavy can take a real beating thanks to large amounts of HP, and also has some mean abilities. Most importantly, it deals massive amounts of melee damage, and just like any other walker Infects you for reduced speed and damage over time. Should be either eliminated asap or kept at a safe distance.
Drop: Once you slay the Heavy, you regenerate half of your maximum health, heal your infection debuff, and get full ammo for your weapons.
The Big One

The crown jewel of the walker species. He’s strong, he’s dangerous, and he’s hard to defeat due to his massive resistances.
Here’s how the boss fight goes:
-
When he spawns, a crate appears on the map. A player from your team must pick up this crate and carry it to a certain location.
-
After that, lure the Big One to this location to temporarily disable his resistances. Once you do that, deal all the damage you can.
-
If the Big One is eliminated, you move on, if not – you repeat the trick with the crate.
The Big One is always surrounded by walkers, so don’t expect an easy four-on-one fight; you’ll have to deal with herds of regular enemies as well.
Now, the bad news: this beast is deadly! It deals huge amounts of melee damage, so if you get caught, you might not make it out alive. Try to keep your distance and run like the wind if you see that The Big One is getting ready to strike!
Whisperers
The next type of enemy is whisperers. They are a group who try to live according to the laws of nature, much like animals. They have a hierarchy similar to that of wolves, with the "Alpha" as their one true pack leader. Just like wolves, they protect their territory with ferocity and will not hesitate to eliminate anyone who trespasses. There's a disturbing feature to them, which is not all too common in animals – whisperers skin walkers to use their skin as disguises. This helps them blend in and guide herds in the direction they need.
Hunter

Powerful shotgun-wielding enemy who can do lots of damage, especially at close range. Not that he can take down your whole team, but he’s dangerous enough – keep this guy at a distance, or join forces to take him down and out of the equation.
Drop: Once you slay the Hunter, you fully regenerate, heal your Infection debuff, and get full ammo for your weapons.
Raiders

Surviving in the post-apocalyptic world isn’t easy, and there’s really not much room for morals and ethics. Raiders know that too well, and they do what they must to live to see another day. Nothing personal, just survival. They are just as fast as the player, and they have fragile human heads, which is a godsend to the player surviving these oncoming waves.
Maimer

The backbone of any raider squad. This guy wields an assault rifle, which he uses at medium ranges, and is almost 3 times as fast as any walker while running. Maimers don’t pose much threat if you take them out at long distance.
Suppressor

The berserk in the raider family. Loves to use shotguns at point-blank range. Isn’t afraid of getting extremely close to the player for maximum effect. Try and stop these guys before they get within arm’s reach. Otherwise, you might be looking at a spent medkit, or at a trip to the main lobby.
Scalpel

The first raider melee unit. Does damage at close range with the event baseball bat, and can be quite persuasive thanks to his high movement speed. If Scalpel scratches you, you’ll start losing HP, and the only way to stop this is by using a healing consumable. So if you don’t want to spend all your medkits in one fight, make sure to keep away and aim for the head.
Drop: Once slain, he drops a crate with the Survivor or Daryl’s Crossbow. You also regenerate half of your maximum health and armor, heal your Infection debuff, and get full ammo for your weapons.
Eagle Eye

This is a precise and dangerous unit. Eagle Eyes tend to use sniper rifles and keep their distance. Try not to stand still in open spaces when these guys are around: change position, take cover, and do what you can to close the distance. Once you’re up and personal, you won’t have much trouble dealing with them.
Meat Grinder

Powerful melee unit that uses the “Lucille” baseball bat. This weapon is dangerous due to its Piercing Hit perk that makes the target lose HP over time after receiving incoming damage. Dangerous in close quarters and is just as fast as the player, so keeping your distance might get tricky in open spaces where you can’t maneuver.
Drop: Once slain, he drops a crate with the Survivor or Daryl’s Crossbow. You also fully regenerate, heal your Infection debuff, and get full ammo for your weapons.
That’s all the PvE enemies we’ve prepared for you. It might not look like much, but wait till they start coming in herds - they’ll look much more overwhelming!
Just remember to keep your cool and always think about your next step. Being in the “here and now” is fun and all, but that can cost you your life when dealing with these opponents.